Report: Sanding the Hull
Reapplying antifouling on the underwater hull is probably one of the most unpleasant tasks as a boat owner. Especially the preparatory work is the most unpleasant part. Holding the sanding device overhead for a long time is exhausting and quickly leads to unhealthy body postures. Wearing a protective suit is more than sensible, and a good protective mask - ideally a full mask - is essential. The dust created is highly toxic and must not be inhaled under any circumstances. What follows is strenuous work in protective gear, where one quickly starts to sweat and loses concentration. This affects the sanding result and one's physical condition. A good first step is to use our sanding support. But beyond that, there are many ways to optimally prepare for this strenuous work and make it more relaxed. In the following overview, we have presented our game changers for sanding the underwater hull.

First of all: Watch the weather
As a sailor, you know it: The weather is always an important influencing factor. While at sea it is more about the wind and wave conditions, in this case we need to pay attention to another parameter: The temperature. You definitely do not want to carry out this strenuous work at 32 degrees in the shade. You won't last 15 minutes! Take a close look at the weather forecast. Temperatures between 12 and 20 degrees are, in our experience, the most pleasant. Even 22-25 degrees can quickly become uncomfortably warm. Furthermore, we strongly advise postponing the project. Colder is always an option. What your comfort zone is, you will of course decide for yourself.

The preparation: One week beforehand
Sanding the underwater hull takes time and effort. So plan this project carefully in advance. Prepare everything about a week beforehand so you can really get started. Nothing is more annoying than having to search for the right tools and protective equipment before the actual work. It always turns out that something is missing, and that has to be bought expensively at the nearest hardware store, which in turn costs time and nerves. An absolutely avoidable situation! Therefore, check your work tools a week before the project and order supplies if necessary from the relevant websites or your local dealer (support your locals!).
Tomorrow it begins...
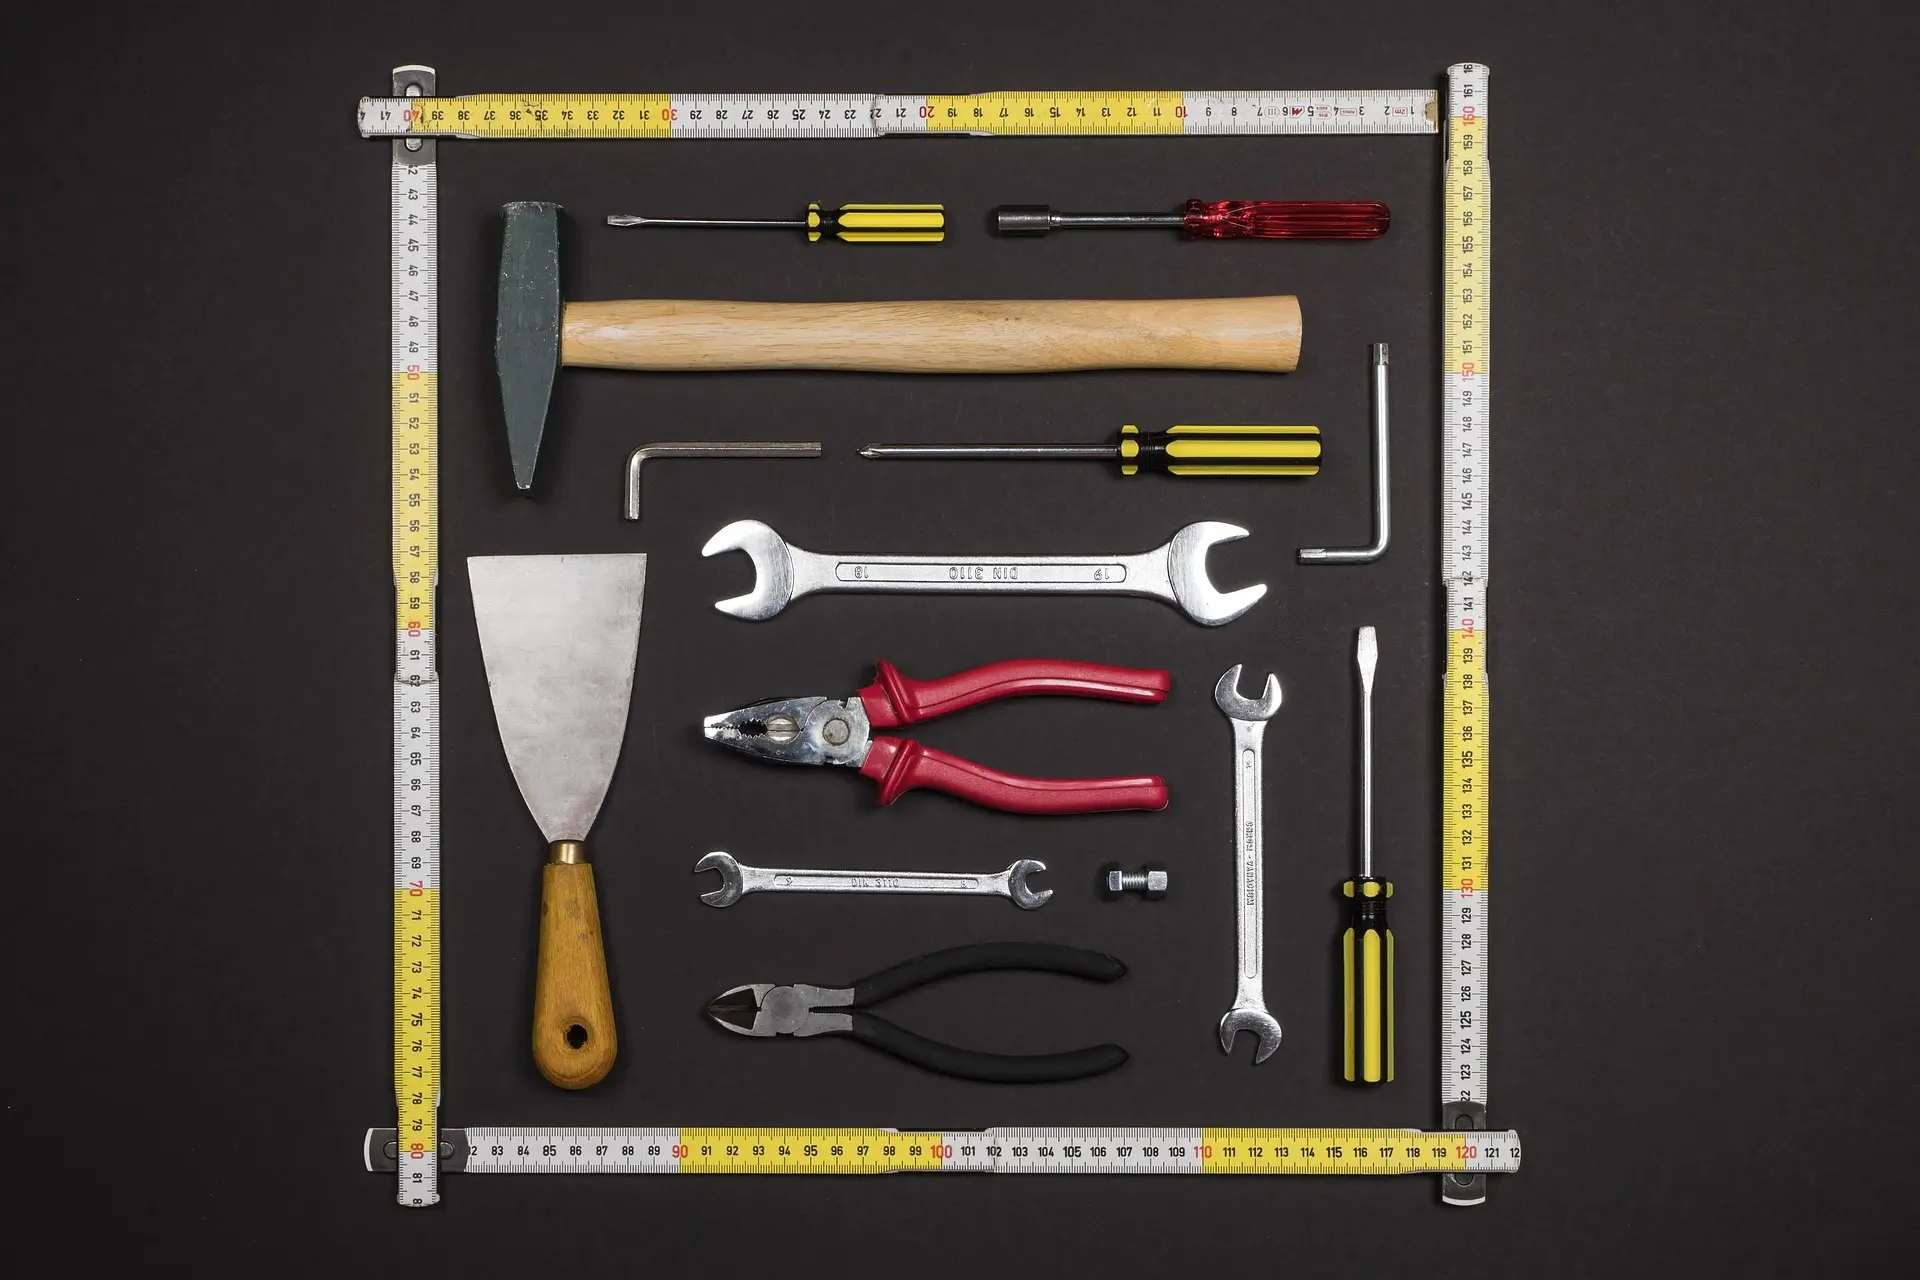
... but even today we recommend taking the time throughout the day to pack all the necessary work equipment. Is your boat nearby? Even better! Drive over briefly and check if everything is in order. This way, you won't be surprised the next day if the cover wasn't tight and the boat is full of water. If you can store the work equipment securely against theft and still have it easily accessible on the boat, do that. If not, pack the work equipment in the car where it is easily reachable and perfectly sorted. On the way home, you can go shopping directly to get the necessary liquid and solid food (see also section "Finally at the Boat").

Recovered into the Day
Make sure to get a good night's sleep before work. You should be as well-rested as possible and bursting with energy. If you feel like you can uproot trees today, then this is the perfect day for this work. Start the day relaxed and without stressing yourself. A hearty breakfast, rolls from your favourite baker, maybe a few yoga exercises, etc.
Starting 10 minutes later but being well-rested and in a great mood is 1000 times better than starting this work stressed and annoyed. You will get frustrated faster, and that costs unnecessary energy.

Finally at the boat: Can we get started?
Yes - with reservations! Make sure you have all the work materials available. This naturally includes the obvious utensils such as scrapers, sanding equipment, sufficient sanding discs, vacuum system, protective suit and respirator mask. But also the seemingly obvious things like enough water (3L goes quickly!), a proper meal and good company are essential for this work. Your electrolyte balance will definitely be put to the test that day. So ensure you have enough supplies. An energy bar, electrolyte powder or similar are also sensible additions.

And off we go!
First, check what type of antifouling you have. Can it be easily scraped off with a scraper? If so, do this first before you start with the sanding equipment. The coarse dust that is generated will otherwise clog the sanding disc too quickly and you won't make proper progress. Make sure to take enough breaks and drink something at a safe distance from the boat. This is a marathon, not a sprint!
After the scraper has done its job, you can start with the sanding equipment using an 80 grit sanding disc. Ideally, use our sanding support for this. With that, the strenuous part of the work is already done!
Use the right material
The right material makes the difference between prolonged torment - sometimes over weeks - and a few relaxed afternoons under the boat. We describe how you can transform sanding antifouling into an effortlessly easy task with the right sanding equipment in the blog article.The right sanding equipment.